Don’t forget to update the KMS Key Policy, too. I spent a bit of time trying to figure out why it wasn’t working, until CloudTrail helpfully told me that the kms:GenerateDataKey permission was also required. Turn it on today, even if you don’t need the auditing. It’s an excellent permissions debugging tool.
I stumbled upon Convox a couple weeks ago, and found it pretty interesting. It’s led by a few people formerly from Heroku, and it certainly feels like it. A simple command-line interface to manage your applications on AWS, with almost no AWS-specific configuration required.
An example of how simple it is to deploy a new application:
$ cd ~/my-new-application
$ convox apps create
$ convox apps info
Name       my-new-application
Status     creating
Release    (none)
Processes  (none)
Endpoints
$ convox deploy
Deploying my-new-application
Creating tarball... OK
Uploading... 911 B / 911 B  100.00 % 0
RUNNING: tar xz
...
... wait 5-10 minutes for the ELB to be registered ...
$ convox apps info
Name       my-new-application
Status     running
Release    RIIDWNBBXKL
Processes  web
Endpoints  my-new-application-web-L7URZLD-XXXXXXX.ap-northeast-1.elb.amazonaws.com:80 (web)
Now, you can access your application at that ELB specified in the “Endpoints” section.
I haven’t used Convox with more complex applications, but it definitely looks interesting. It uses a little too much infrastructure than I would like for personal, small projects (a dedicated ELB for the service manager, for example). However, when you’re managing multiple large deploys of complex applications, the time saved by Convox doing the infrastructure work for you seems like it would pay for itself.
The philosophy behind Convox:
The Convox team and the Rack project have a strong philosophy about how to manage cloud services. Some choices we frequently consider:
Open over Closed
Integration over Invention
Services over Software
Robots over Humans
Shared Expertise vs Bespoke
Porcelain over Plumbing
I want to focus on “Robots over Humans” here — one of AWS’s greatest strengths is that almost every single thing can be automated via an API. However, I feel like its greatest weakness is that the APIs are not very user-friendly — they’re very disjointed and not consistent between services. The AWS-provided GUI “service dashboard” is packed with features, and you can see some kind of similarity with UI elements, but it basically stops there. Look at the Route 53, ElastiCache, and EC2 dashboards — they’re completely different.
Convox, in my limited experience, abstracts all of this unfriendliness away and presents you with a simple command line interface to allow you to focus on your core competency — being an application developer.
I, personally, am an application / infrastructure developer (some may call me DevOps, but I’m not particularly attached to that title), and Convox excites me because it has the potential to throw half of the work necessary to get a secure, private application cluster running on AWS.
I’m a big Let’s Encrypt fan. They provide free SSL certificates for your web servers so you can protect the traffic from prying eyes. In fact, the connection between your web browser and my blog server is made private thanks to Let’s Encrypt.
Using Let’s Encrypt requires some setup and automation on your part if you want to use it in the AWS cloud, but AWS recently launched something called the AWS Certificate Manager or “ACM”. ACM takes care of issuing, renewing, and provisioning certificates for you — which is great because uploading SSL certificates to CloudFront and Elastic Load Balancers is not the most fun thing to do. I would pay for this, but Amazon has decided to give it to everyone for free. 🙂
As with anything AWS, this has a couple catches, but if you run your cloud resources in AWS you probably won’t be worried about them:
You don’t have access to the private key, which means you can’t use the same certificate elsewhere.
ACM is currently only available in the us-east-1 region. ACM is currently available in all major AWS regions[footnote]As of this update (2016/06/07), ACM is available all regions except US GovCloud and China Beijing)[/footnote].
You can’t use ACM certificates across regions (with the exception of CloudFront, which doesn’t have a region — note that CloudFront ACM certificates must be located in the us-east-1 region, though.).
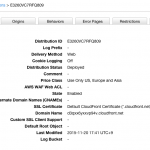
So, I decided to test it out on a silly little CloudFront distribution I have running I made for a blog post as a demonstration of how you can use S3 and CloudFront to serve a single-page JavaScript app with “proper” URLs.
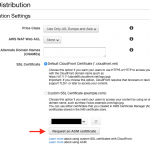
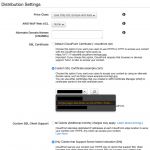
Open the CloudFront distribution details, then click on “Edit”
Click on “Request an ACM certificate”
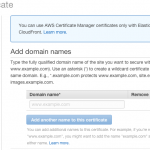
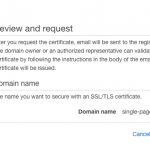
This will pop up in a new page
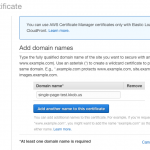
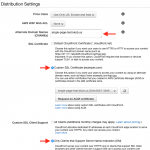
Enter the domain name(s) you’d like to add to the certificate
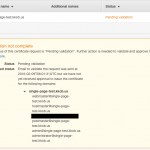
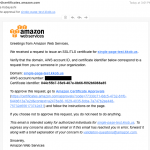
An e-mail will be sent to the address registered in WHOIS, in addition to some inferred addresses.
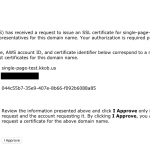
Follow the instructions.
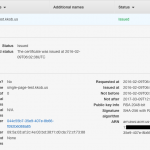
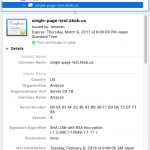
Reload the CloudFront distribution page, and the newly-issued certificate will show up.
(Especially the last one. If you don’t, then your next AWS bill will be massive.)
Amazon S3 is a great place to store static files. You might want to even serve a single-page application (SPA) written in JavaScript there.
When you’re writing a single-page app, there are a couple ways to handle URLs:
A) http://example.com/#!/path/of/resource
B) http://example.com/path/of/resource
A is easy to serve from S3. The server only sees the http://example.com/ part, and so it serves that file to everyone.
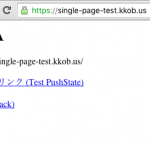
B, however, is a little tricky. Single-page apps usually use pushState or replaceState to change the current URL without reloading, but once you reload (or give the URL to someone else) — BAM! You’ll get presented with a 404 Not Found error.
So why don’t we just use A? There are quite a few advantages to using B, over just being more elegant than putting that pesky #! in there. In my opinion, the biggest advantage of using B is that you’ll be able to make backend changes in the future without having to redirect URLs. For example, as your app gets bigger, you want to render some (or all) components server-side (see Isomorphic or Universal JavaScript).
To implement the B strategy, we need to serve the same index.html file to any URL requested by the client. As I mentioned earlier, we can’t do this with S3 itself, so we’ll enlist the help of CloudFront.
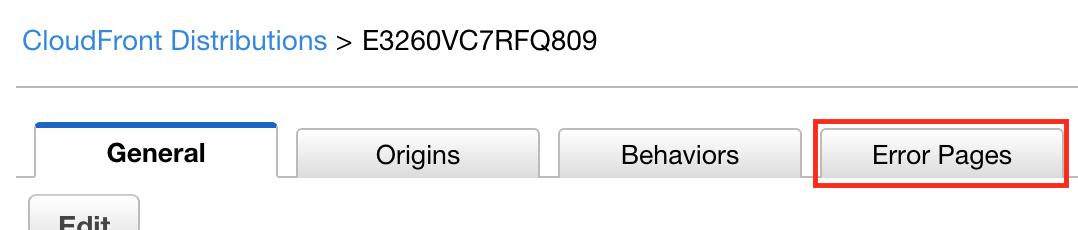
First, create a CloudFront distribution for the S3 bucket. Since CloudFront caches items for quite a long time, you might want to either set Cache-Control headers on your S3 files, or set the default TTL to something short, like a few seconds, in the CloudFront distribution settings. Once everything is set up (and you can access index.html by itself), click the “Error Pages” tab.
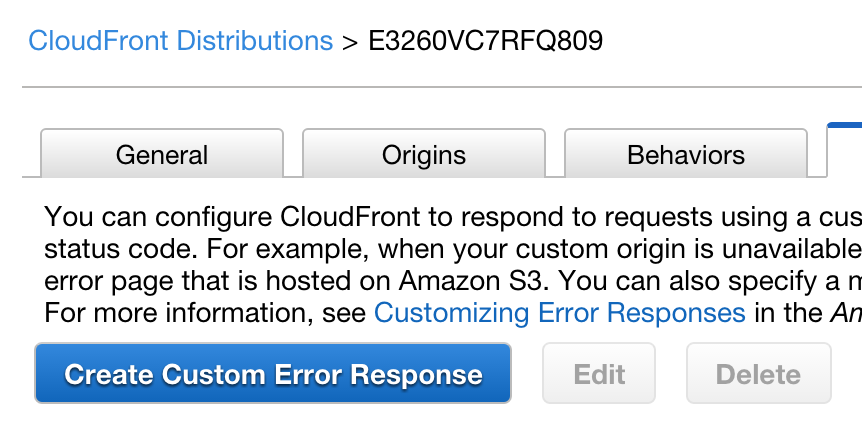
Click the big blue button, “Create Custom Error Response”:
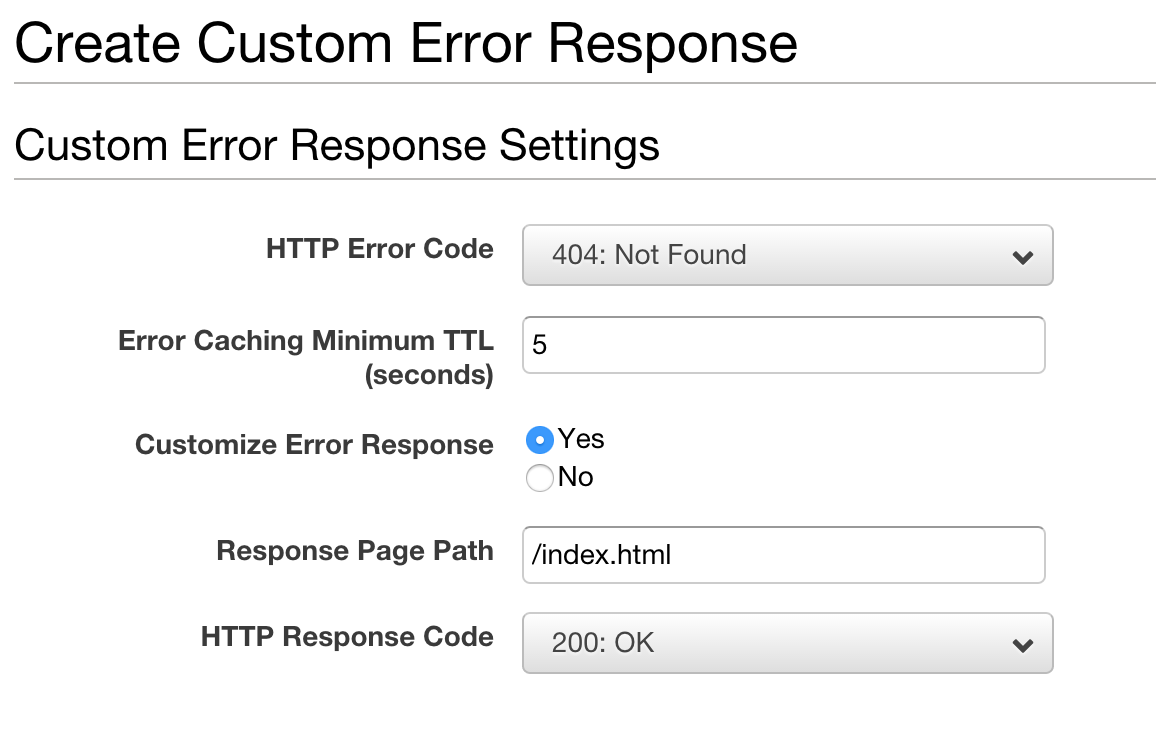
Now, I think you can tell what I’m up to now. Enabling “Customize Error Response” allows you to change a 404 from the backend (in this case, S3) in to a 200! Note that S3 will return a 403 response if you use the “S3 Origin” option instead of the S3-hosted origin. If you’re getting a 403 error from S3, customize the 403 error as well.
These all serve the same index.html. If you inspect the headers, the first link should be X-Cache: RefreshHit from cloudfront or Miss from cloudfront. However, if you look at the other requests, it will be X-Cache: Error from cloudfront. The status returned, however, is 200 — just as we wanted it.
Any questions? Contact me or leave a comment in the box below.
Note: This blog post covers the legacy SSL Endpoint. Heroku now recommends the use of Heroku SSL, which can provide you with a free certificate and HTTPS (provided you are using the Hobby tier or higher).
If you use Heroku, you probably know a couple things:
I’m going to solve both of these problems with one stone: AWS CloudFront.
AWS CloudFront is a content delivery network — think of it as a proxy, distributed around the globe. It’s usually used for static content that can be cached for long periods of time, but we’re going to use it for dynamic (or semi-dynamic) content today.
Point CloudFront to your *.herokuapp.com domain, then assign CloudFront the domain of your choice (in the “Alternate Domain / CNAME” field). You can then upload your SSL certificate. CloudFront supports something called SSL Server Name Indication — SNI for short. Remember those days where each server serving a separate SSL certificate had to be on a different IP address? No more — SNI lets the same server on the same IP serve multiple SSL certificates at the same time.
Now, add the “Host” header to “Whitelist Headers”, and you’re ready to go.
Wait. How do you wire CloudFront, which uses dynamic IPs, up to the apex domain? Fortunately, AWS has you covered. Route 53, the DNS service that AWS provides, has an ALIAS feature for resources in your AWS account (CloudFront, Elastic Load Balancer, S3, etc).
For low-traffic sites, this will almost always work out to be less than $20/month.
My preliminary experience with using this setup has been quite good for a mostly-static site, but performance suffered when with user sessions. CloudFront excels at serving cached content — it’s not so fast on cache misses. YMMV.
It may be easy to use the same master Access Key and Secret Access Key for all your apps using Amazon AWS, but it’s definitely not secure and recommended against.
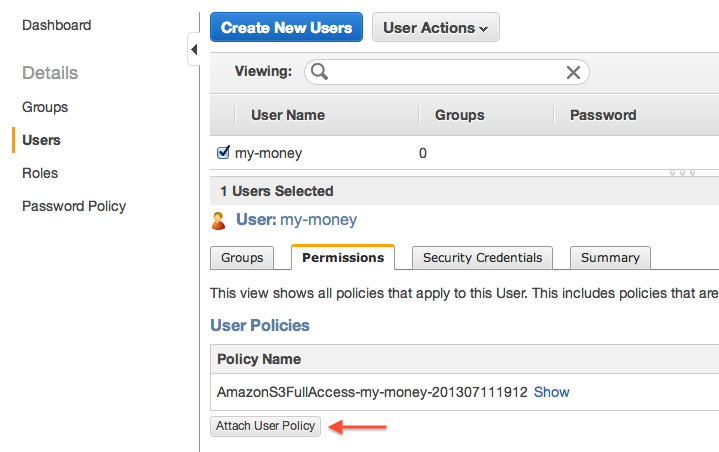
That said, I had a little trouble writing the IAM policy granting a single user access to a single S3 bucket. I finally had time to sit down and figure it out today, and turns out – it’s pretty easy. Up to this point, I’m assuming that you’ve already created your user, but if you haven’t – the IAM management console is located here: https://console.aws.amazon.com/iam/home?#users.
Once you’ve opened the “Permissions” tab of the user, click “Attach User Policy”.
You’ll get a dialog with a bunch of choices – use the “Custom Policy” option, then click the “Select” button.
Here, you’ll enter the name of the policy (something descriptive) and the contents of the policy:
Of course, you need to replace “bucket-name-here” with the name of the bucket that you want to grant access to.
If you’re using a console or GUI tool (Transmit recommended 🙂 ), you’ll need the "Action": "s3:ListAllMyBuckets" section that’s included in the sample, but if you’re accessing your bucket programmatically, it’s not required.